Sometimes it is necessary to scan a document for an instructional need. When documents are in electronic form, they are easier to distribute and can be more accessible than print documents for students with disabilities. However, in order to be fully accessible, certain steps must be followed to be sure the scanned document is of high quality. Even if a document is not needed for a person with a disability, a poor scan often negatively impacts the end user’s experience.
Evaluate Need
Before scanning a document, first evaluate if this particular document is needed and cannot be substituted. If it is necessary, search for the document online to see if an electronic version already exists. This can save time and energy.
What is a High-Quality Scan?
A high-quality scan is one that is easy for everyone to read, including people with low vision or who use assistive technologies to read text electronically. High-quality scans should be free from:
- Text that is cut off
- Crooked pages
- Dark gutters (the margins where shadows occur from curvature in the book’s spine)
- Poor contrast
- Pages that are rotated 90 or 180 degrees
- Handwriting
- Highlighting
- Underlining
- Watermarks/coffee stains
- Excessive use of script or italic fonts
- Blurring
Be sure to consider these issues when (a) choosing an original source and (b) producing the scanned version.
Examples
This is not a high-quality scan because the original content is not aligned well on the scanner. This results in the page looking tilted, text is blurry, and some text dissapears into the margin.
This is an example of a high-quality scan. The scanned page has good alignment, clear text, and no stray markings obscuring the content.
Settings to Review Before Scanning
When changing the scanning settings, please:
- Be sure the DPI (dots per inch) is set between 300 and 400. Documents scanned at a low resolution will not be recognized by conversion software. Scanning documents at 600 dpi might be necessary for certain STEM content or other highly formatted documents.
- Scan the document in black/white or 24-bit color depending on (a) whether the color of the original is important, and (b) whether your choice of color will have an effect on contrast.
- Check if the scanner has built-in Optical Character Recognition (OCR) capabilities. OCR turns images of text into text that is copy and pasteable. Often, this option is identified as saving a document as a Searchable PDF.
- Consider removing the binding of the book if the gutter is small or tightly bound. This allows for high-speed scanning. The book can then typically be re-bound with spiral binding for low cost at a local copy shop.
While Scanning
During the scanning process, please be aware of the following:
- Scanning books with a spine – A book with a spine will not naturally lie flat on a scanner which means text on the edges of the page will be distorted. Please push the spine of the book down while scanning to ensure that all the text is copied in a clear manner.
- Don’t combine pages – Limiting each print page to one electronic page will improve reading on mobile platforms. This also helps to speed up the conversion process using OCR (Optical Character Recognition) software.
How to Turn a High Quality Scan into an Accessible PDF
The first step is to use OCR (Optical Character Recognition) software. A high-quality scan (such as a JPG or PNG) contains images of text, not actual text like you’d find in a Microsoft Word document converted to PDF. Screen readers can’t read images of text; they need the text to be converted into machine-readable format. OCR software recognizes the text in the scanned image and converts it into editable, machine-readable text.
To start, open Adobe Acrobat Pro and go to File > Create > PDF from File to upload your scan (JPG or PNG) and convert it into a PDF.
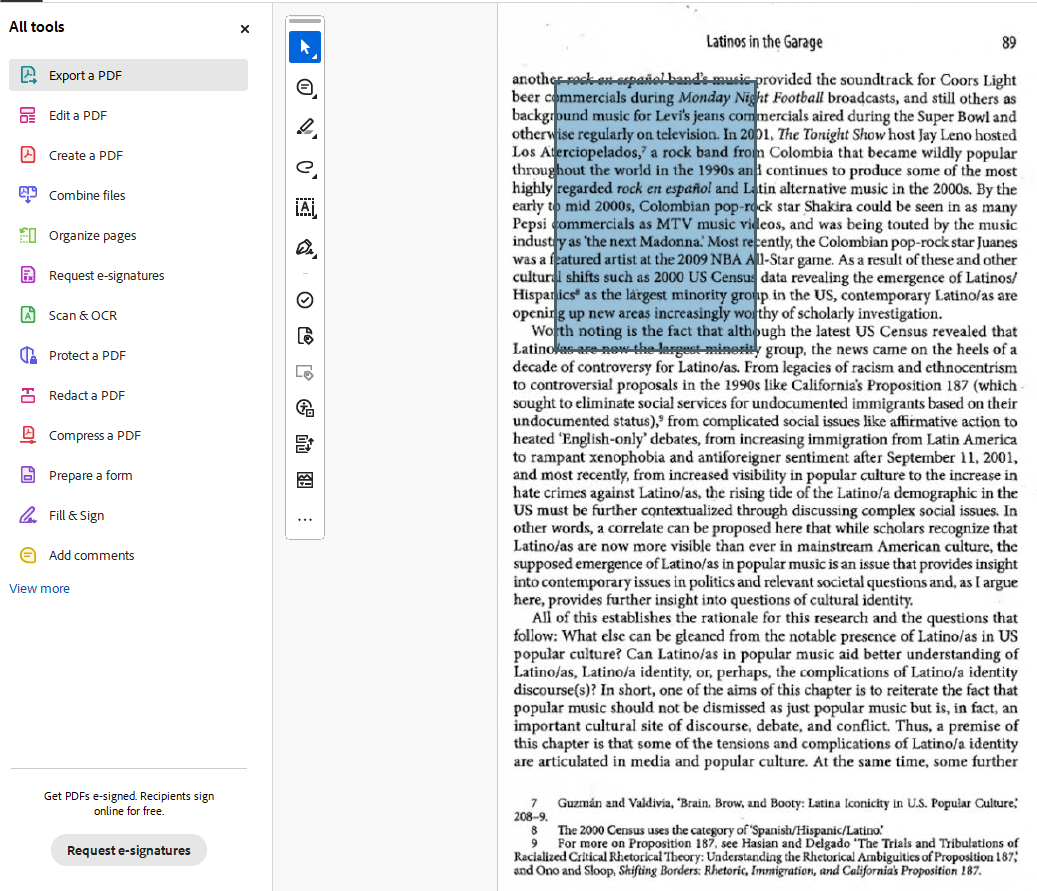
Once the scan is converted to a PDF, try selecting the text. You'll notice that it doesn't behave like selectable text; instead, it creates a blue box. If you left click the page it will highlight the entire page. This means the text hasn't been recognized yet. Both methods will display the "Recognize Text" dialogue.
If you click the Recognize Text dialogue it will take you into a menu to scan the page using Adobe's OCR software. Alternatively under All Tools you can select "Scan & OCR."
Within the Scan & OCR menu you will see an option that says "Enhance Scanned File." When you select Enhance Scanned File in Adobe Acrobat Pro, it is typically designed to improve the clarity and legibility of a document by adjusting contrast, removing noise, or correcting skewed text. However, if your scan is already high quality, using this feature may cause unwanted effects, such as blurriness or distortion. Always preview the results and be sure to save your file frequently to avoid unexpected outcomes.
Within the Scan & OCR menu under "Recognize Text" select "In this file," then select "Recognize Text."
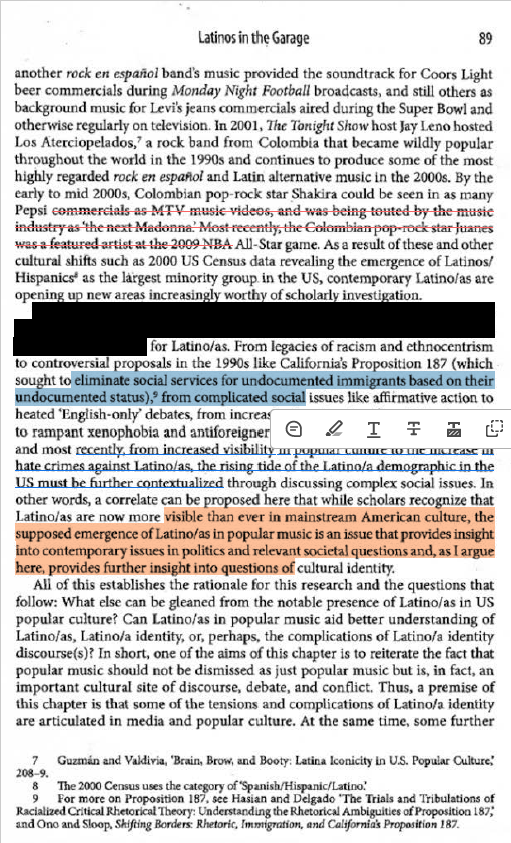
After this step you will see that you can interact with the text; highlight, underlin, redact, strikethrough, and copy. While the text can be recognized, the PDF is still not fully accessible.
To make the document accessible you need to:
- Tag the document for Accessibility
- Ensure tagging for Lists and Tables are accurate
- Ensure the tab and read order is accurate
- Add alternative text for images